04. Build and Send
Build and Send Your Email
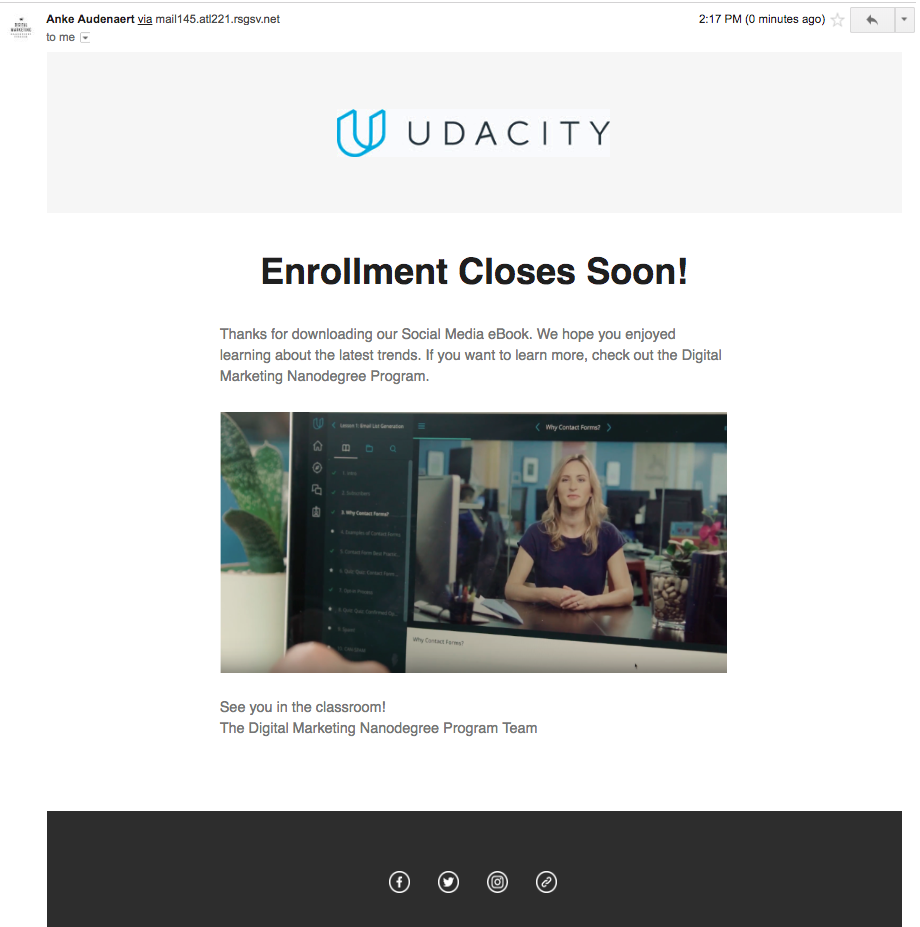
Select one of the three emails you want to build and send.
*Note, you will only be testing the email out by sending it to yourself, not to an entire email list.
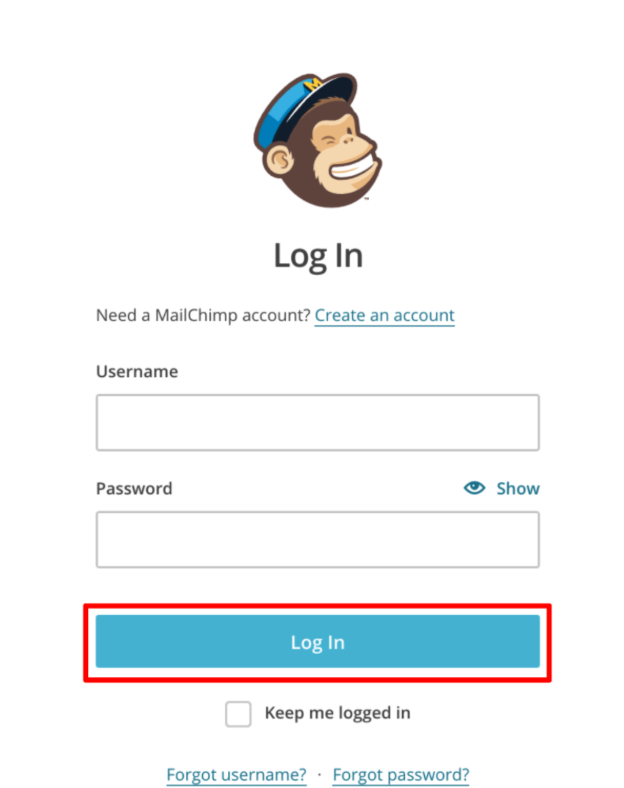
Step 1 Sign-in
If you are not already signed-in, go to the Mailchimp.com login page and log in to your account. (If you have not created an account yet, go back to the Get Started page and follow the directions to create an account).
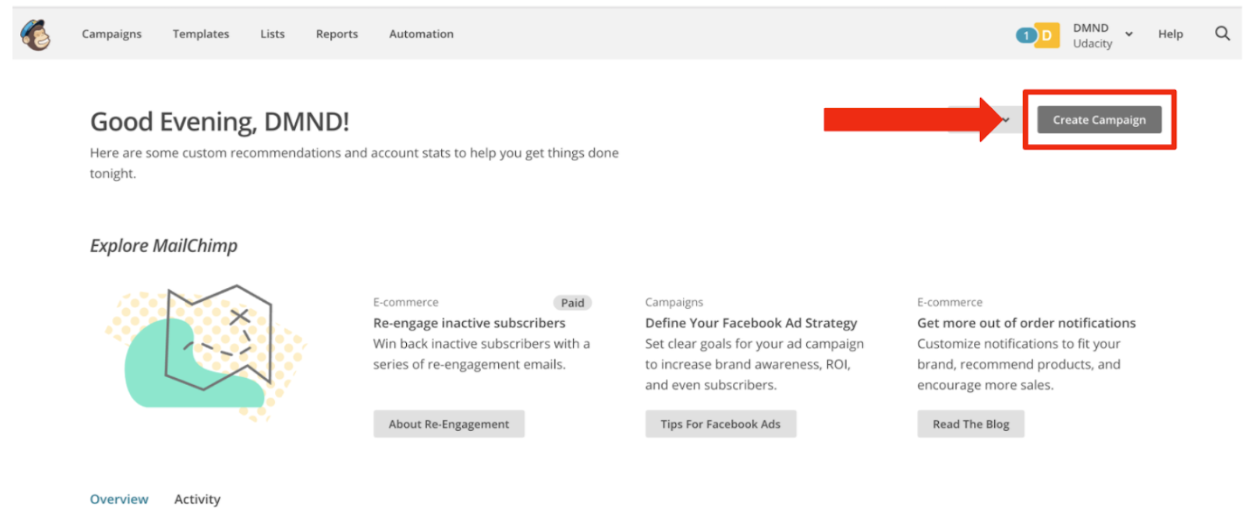
Step 2 Create Campaign
One you are logged in, on the home screen, in the upper right hand corner, click Create Campaign.
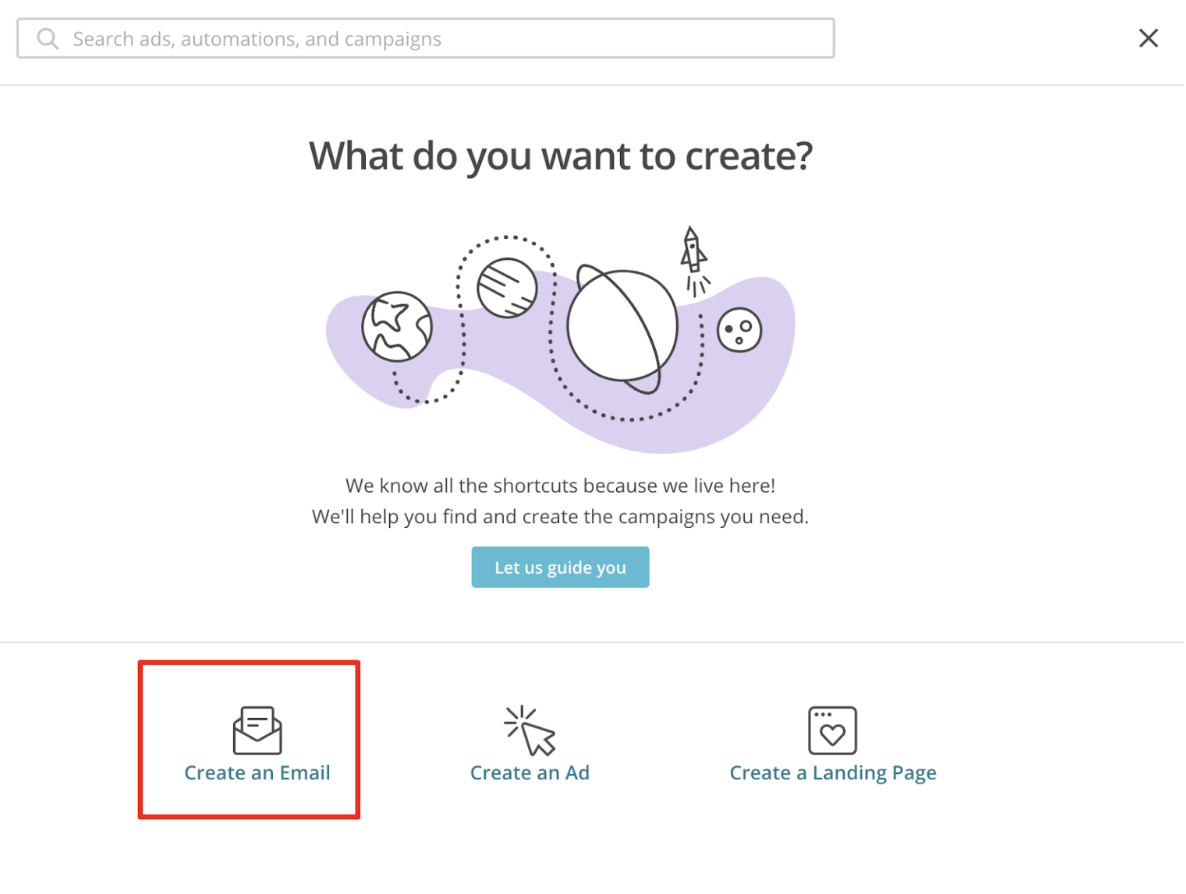
Step 3: Name Campaign
- Next, give your email campaign a name! This should be used to help you identify your campaign later.
- Click Create an Email
Since you will only be sending a test email, you do not need to fill out the “To” part of the campaign.
You will need to fill out the from, subject, and content.
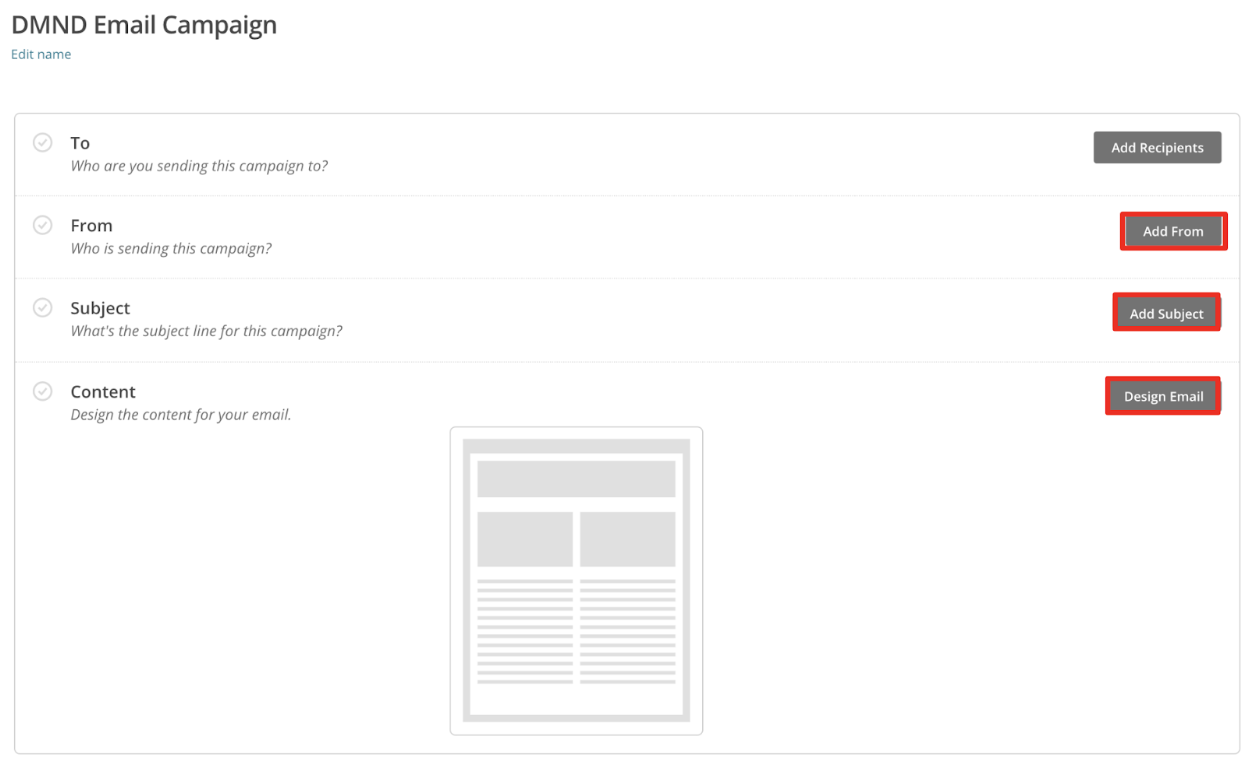
Design Your Email
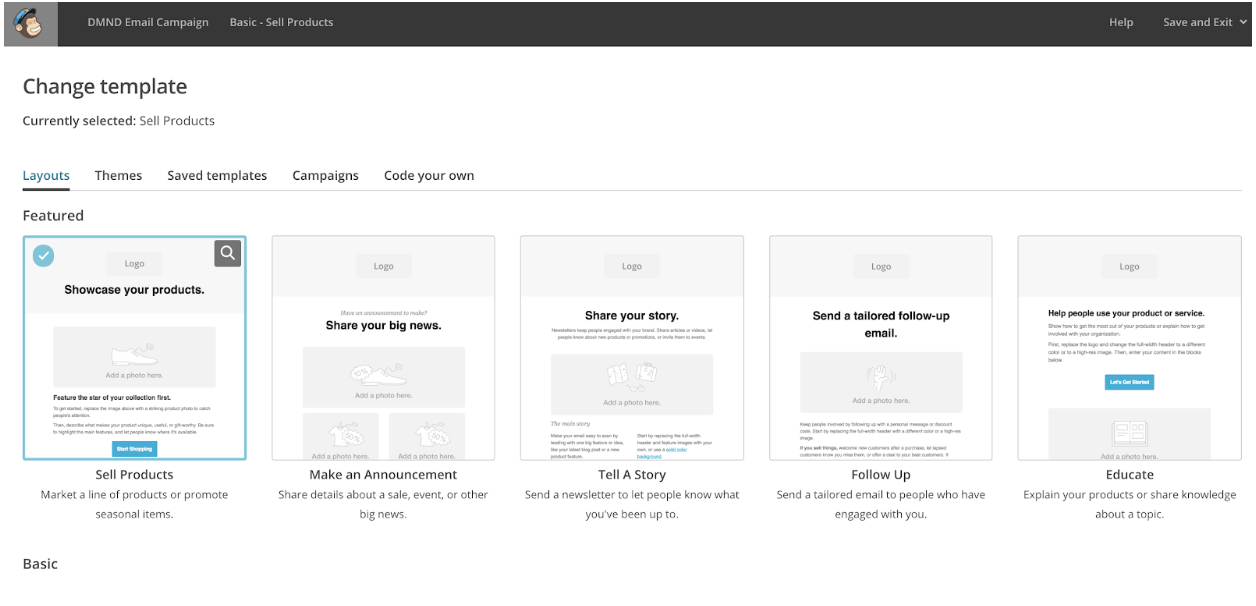
Once you get to the content part of your campaign, select a template or customize your own.
Once you have designed and inserted the copy for your email, select Preview and Test from the top-right corner.

Select "Send a test email" and insert your own email address.
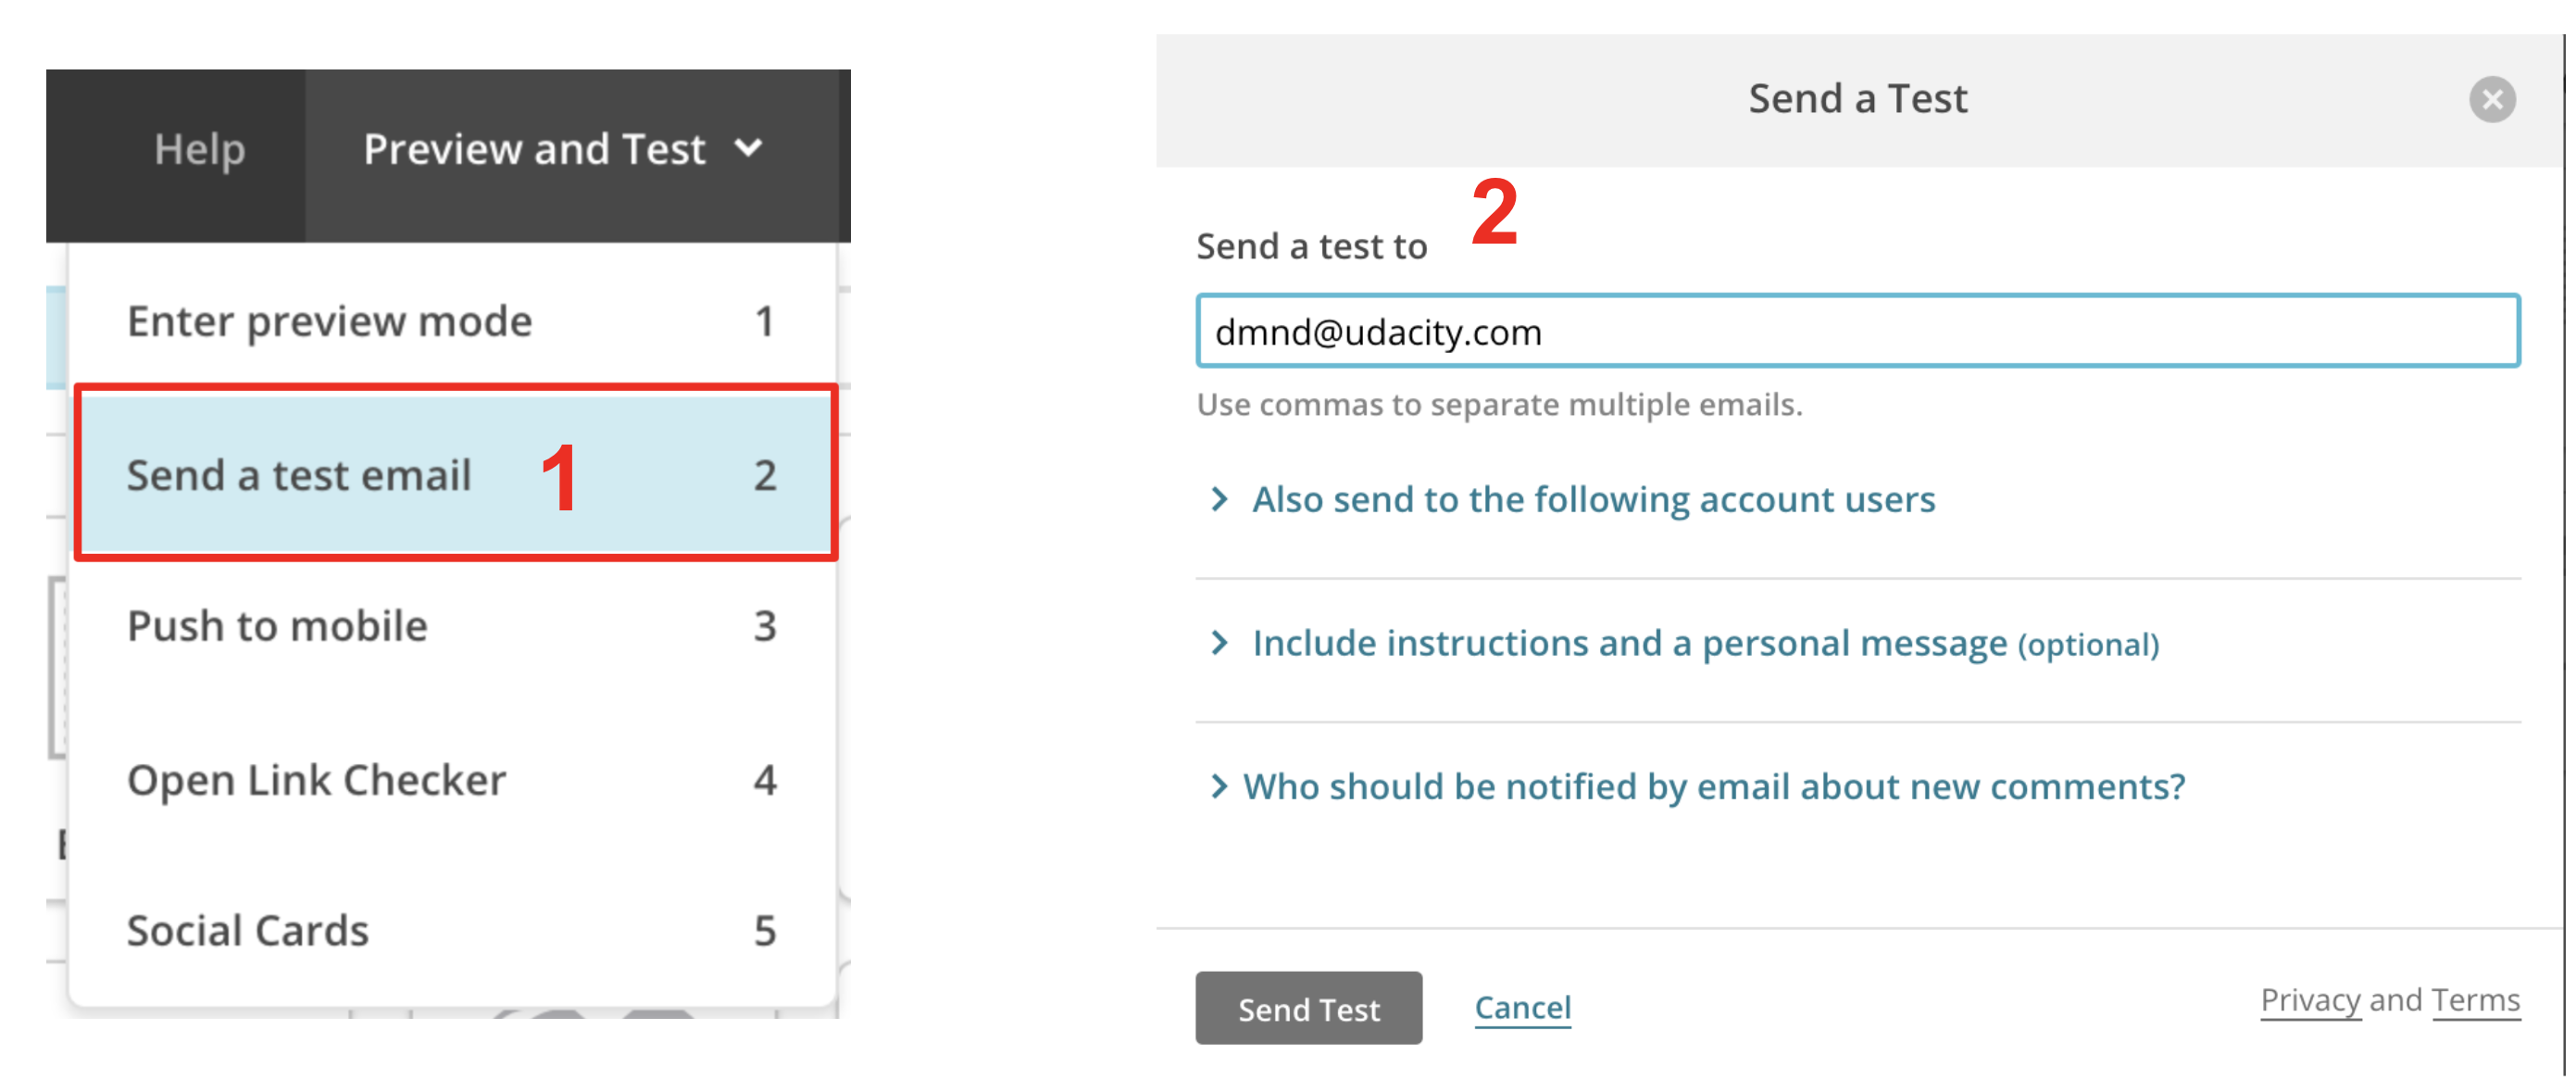
Before sending an email to your entire target audience, it’s important to check that all your copy, links, and images are showing up properly. Send a test email to yourself and thoroughly go over all parts of your email. Do the links take you to the proper landing page? Are your images placed where you want them to be? Do you have proper spelling and grammar?
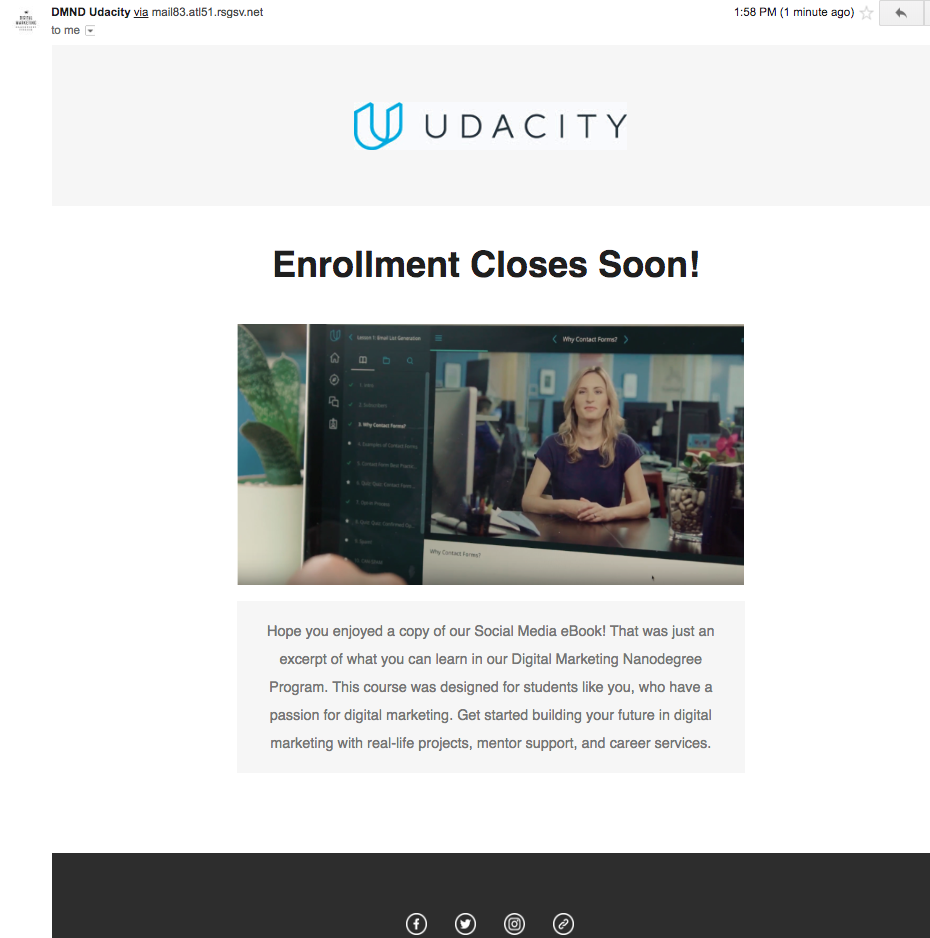
Take a screen shot of your subject line, preview text, and email from your inbox.
Subject Line and Preview Text:

If you noticed that you need to update the subject line, preview text, or design/copy of your email, go back to MailChimp and make your necessary changes. Take a screenshot of your updated email.